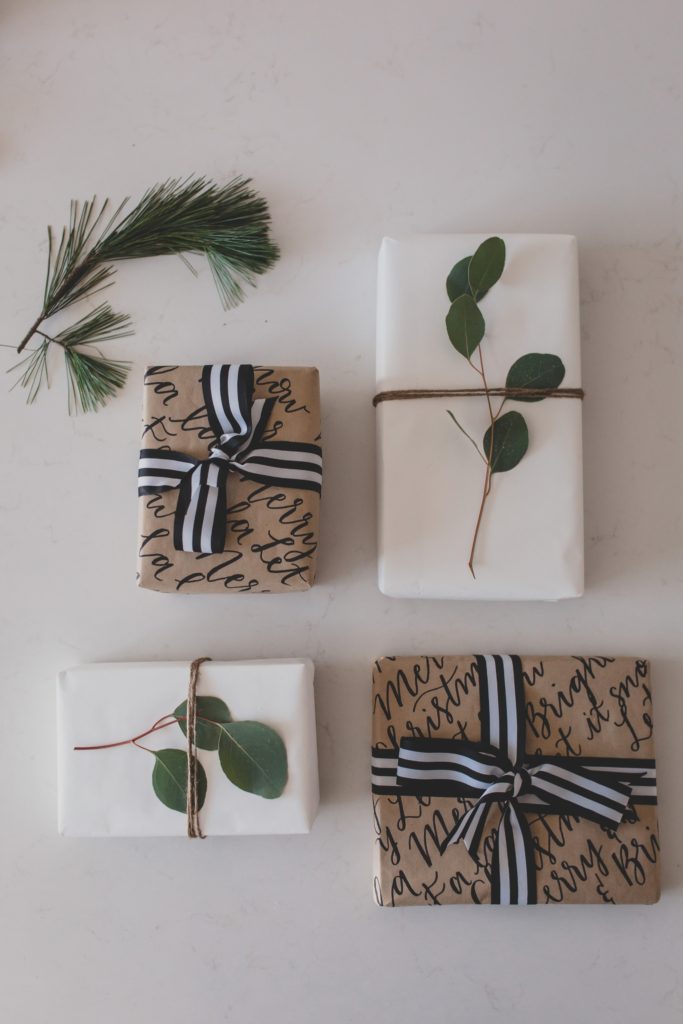
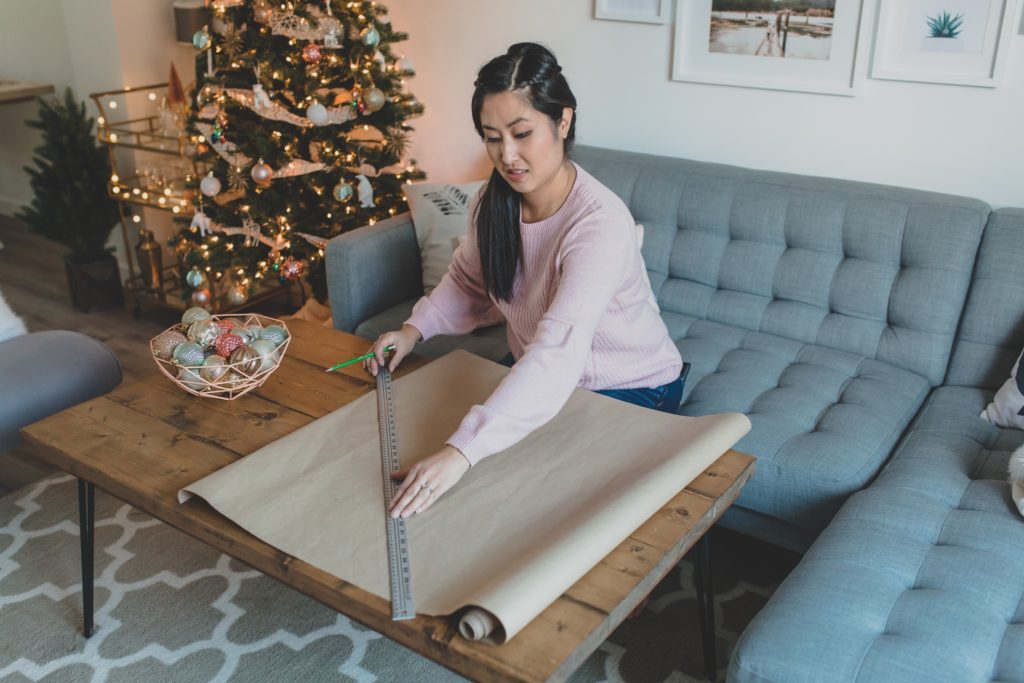
I thought it would be fun to share with you some tips for creating your own DIY calligraphy wrapping paper! I love using kraft paper because it’s rustic, simple, and inexpensive. I used kraft paper that I found at the dollar store but you can find kraft paper at most craft stores as well. I started by measuring out diagonal lines using my meter stick and lightly marking the lines with a pencil.
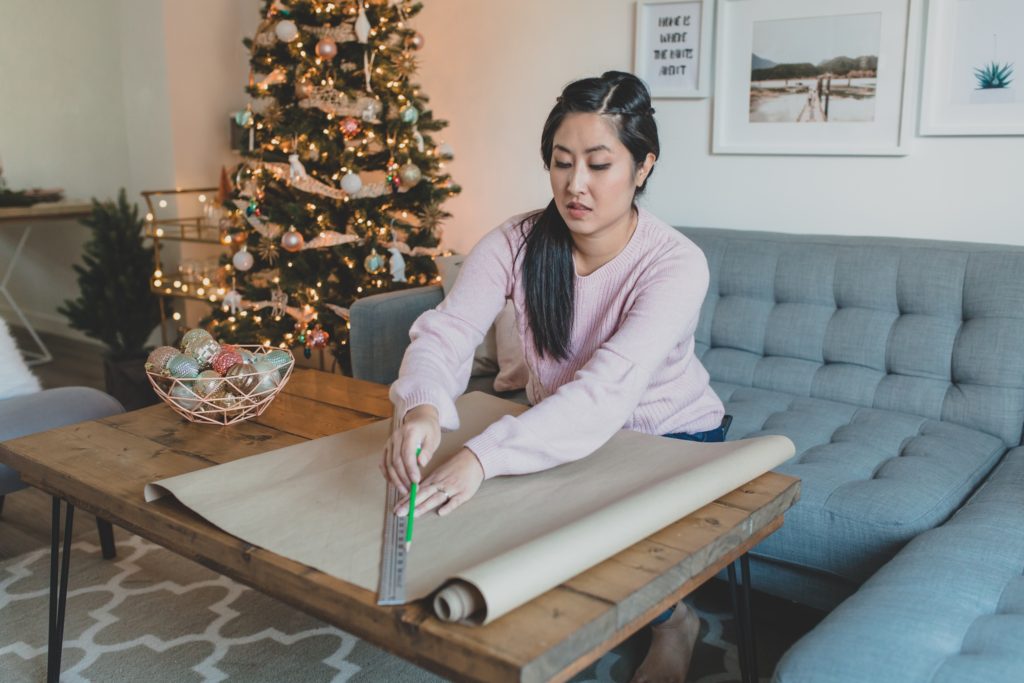
Once you’ve got your guide lines drawn out, it’s time to add some calligraphy! If the thought of going straight to marker makes you nervous, you can trace out your words in pencil first to make sure that you like the layout and then you can go over the pencil lines in marker. I am too lazy for that so I went straight in with my sharpie marker. Plus I figure a few errors here and there are not noticeable once you wrap your gift.
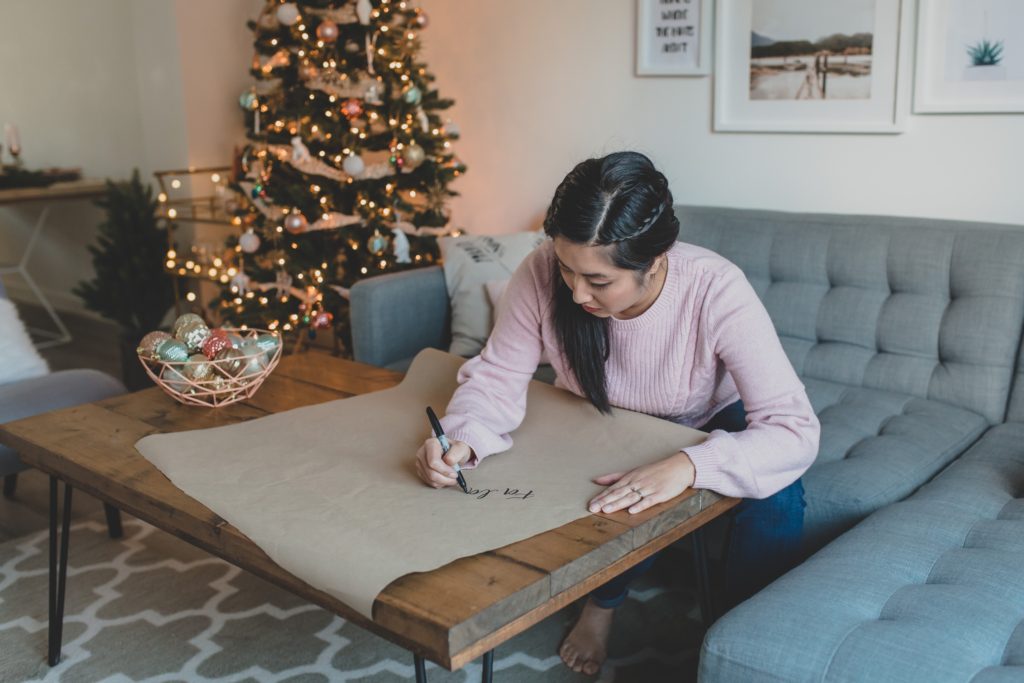
To create a faux calligraphy look, write your words normally in cursive but leave some space between the letters. I chose wording such as ” Fa La La”, “Let it Snow” and “Merry and Bright”. Next, identify the downstrokes of each letter and reinforce them by making them thicker than your original lines to create a faux calligraphy look. There should be a contrast of thick and thin strokes (For more detailed instructions, you might consider attending one of my workshops where I go over each letter step by step! Check out my upcoming workshops here).
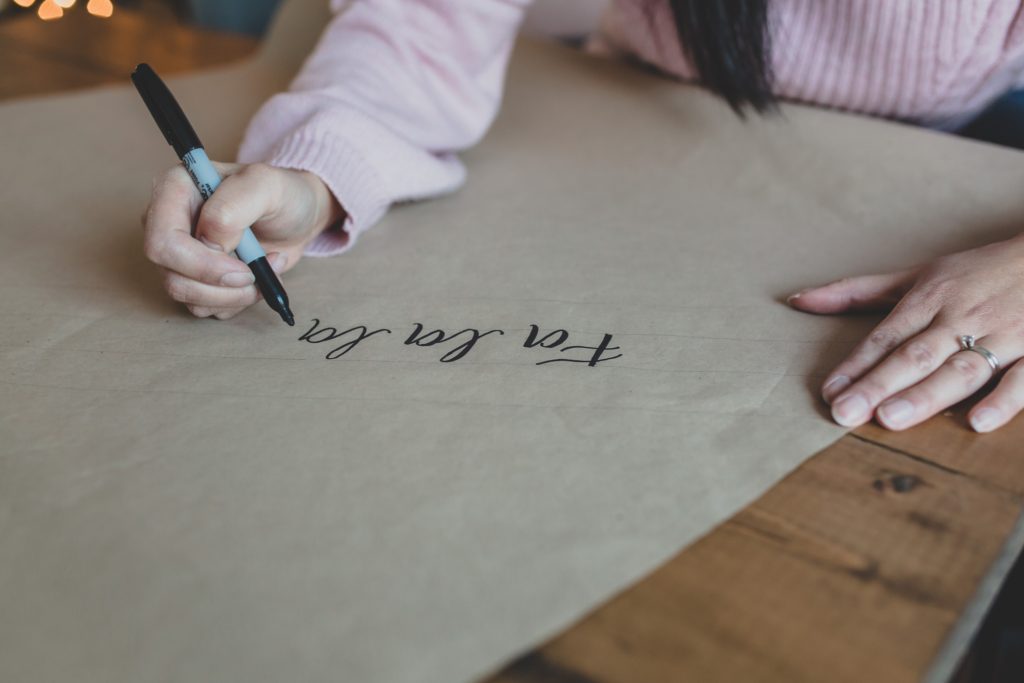
Once you have filled out your wrapping paper with calligraphy, let your project dry completely and then erase your guide lines.
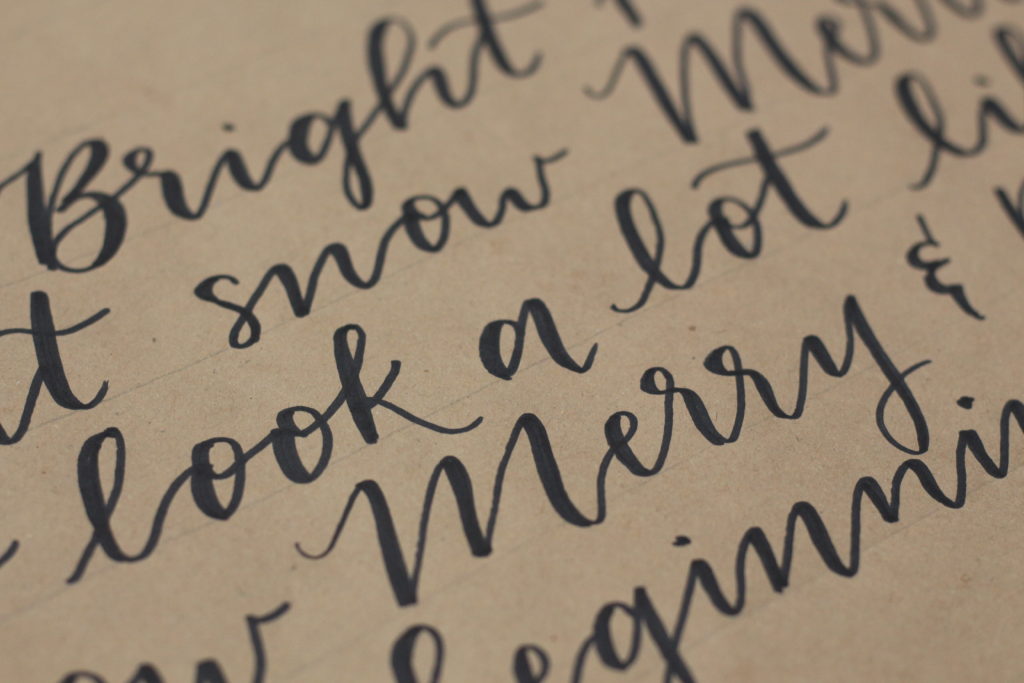
Wrap your gift, add a ribbon, and voila!
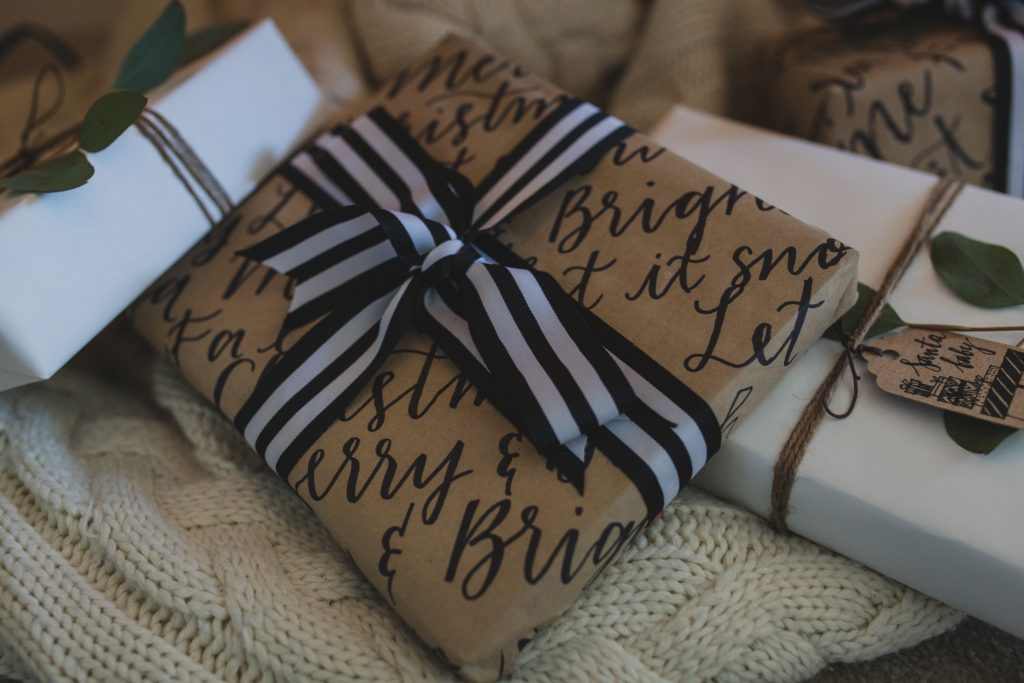
xoxo Bev
Photos by Wink Photography unless otherwise noted
Do you have any lettering workshops coming up?
Christine
Hi! I am taking a break right now while I am on maternity leave but I do hope to teach again when the pandemic is over 😀